In this guide: 3 steps+−
- 1
See a person's life in order
Open a profile and scroll to Facts & sources. Births, residences, occupations, military service, emigration, burial and more are listed in date order, each with its place and how many sources back it.
A timeline of one life, with sources marked. - 2
Add a fact
Press Add fact, choose the type (for example Residence, Occupation or Census), and enter the date and place. Dates keep their precision, so about 1850 or between 1850 and 1855 stays exactly that.
Use Add note for research notes and leads you still need to check.
Any life event, with a date as precise as you know it. - 3
Back it with a source
Open a fact to attach a source: a census, register, certificate, newspaper or family bible. Add the page and the exact words it says. Sources are shared across the whole tree, so you only enter each one once.
Each fact shows exactly where it came from.
Common questions
Do facts and sources survive a GEDCOM export?+−
Yes. They are written back into the .ged file, so another program can read them.
Can I record things the list does not have?+−
Yes. Choose Other event and give it your own label, for example Land grant or Apprenticeship.
Related guides
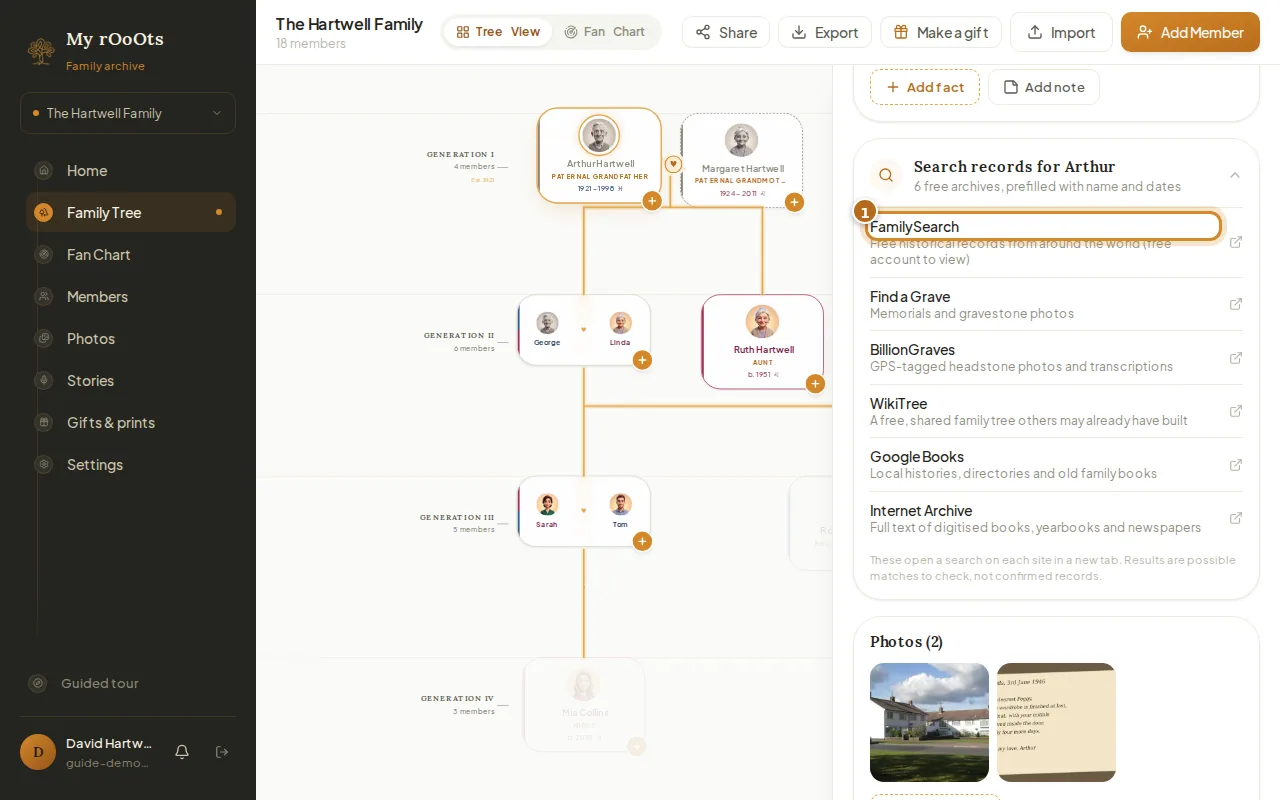
Search records
Search six free archives for any ancestor in one tap, prefilled with their name, dates and place, and work out DNA matches with the shared cM calculator.
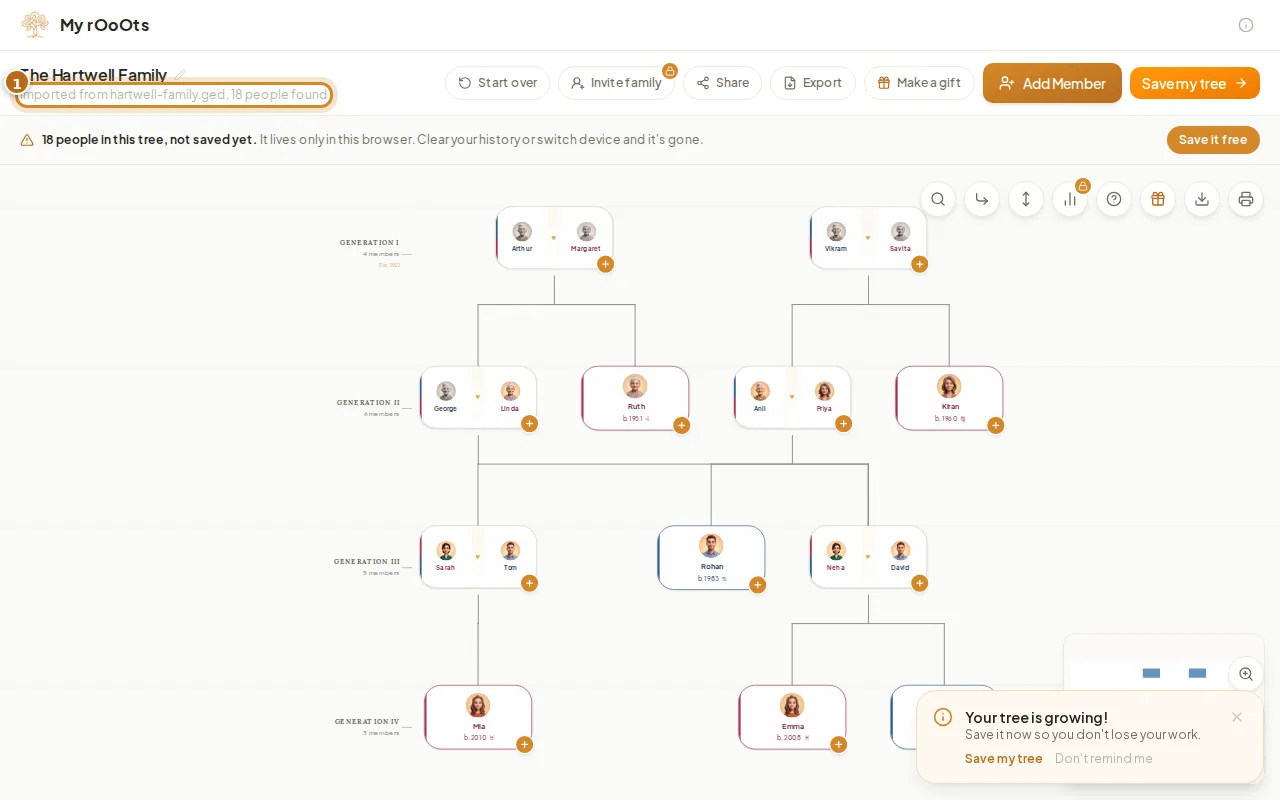
Import a GEDCOM file
Upload a .ged file from any genealogy program and see your family tree in seconds, free. Facts, notes and sources come with it, and you can export again any time.
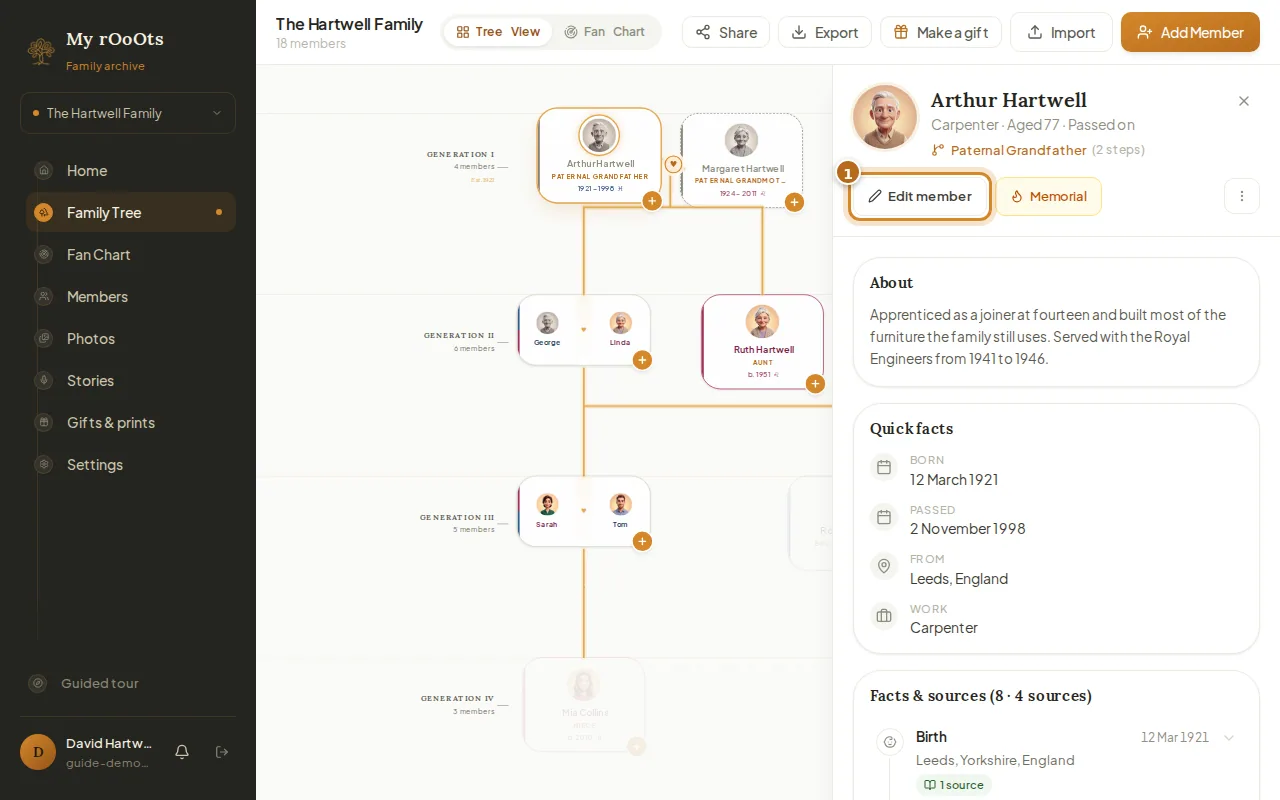
Edit a profile
Open anyone on your tree to add their photo, dates, birthplace, occupation, a short biography, or a tribute for someone who has passed.
Screenshots show a made-up example family. Last updated 23 September 2026.